Friday, November 29, 2019

shoot 6


   shoot 6

plans for shoot
for this shoot, i plan to create an animated GIF. this involves taking multiple photos at different stages of movement and compiling them into one file where they're played consecutively. i aim to have around 6-8 frames. for this i could try some different narratives, including one person reaching to touch the other person on the shoulder, but the person becomes a shadow and the disappears. this is the main one i am focusing on but i may experiment with other ideas.

for this shoot, i will need a tripod, camera, studio lights including a soft box, and two people to be the models.

research influence

my influence for this shoot was a GIF that i had found earlier in the year that i found interesting. it is from a website called tenor.com, however i was unable to find the original artist as there was no web link to the original site.
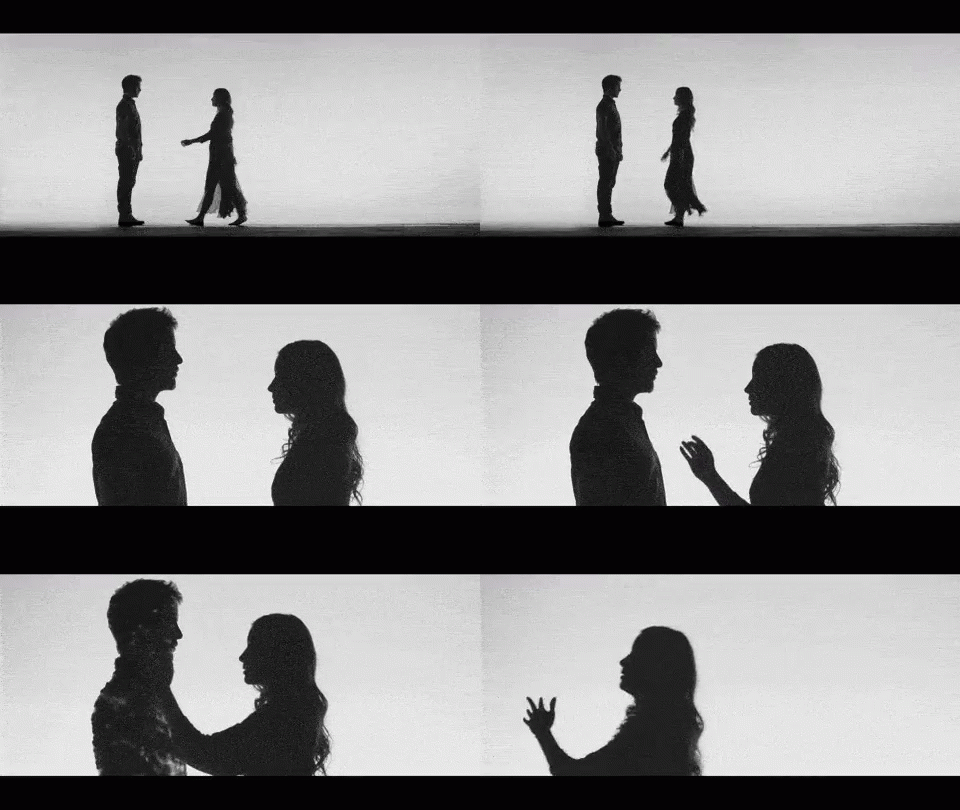
Love You Shadow GIF - LoveYou Shadow Disappear GIFs


this GIF shows the silhouette of a woman who is walking towards a man, and then reaching out to embrace him. when she is about to touch him, he disappears into what looks like smoke, and she falls slightly forward through where he was originally standing.

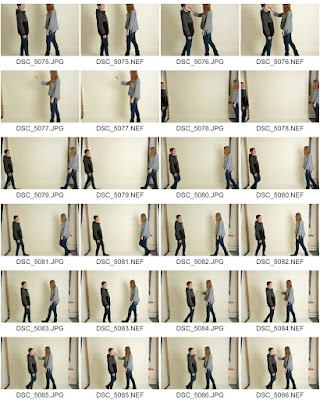
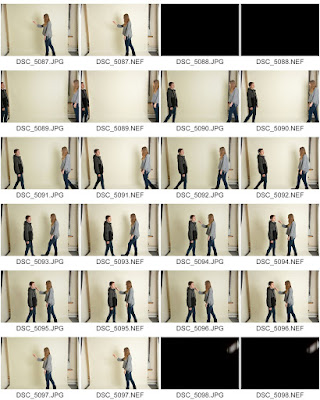
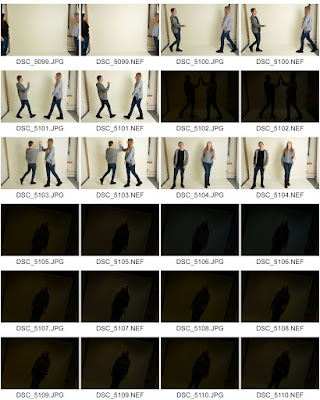
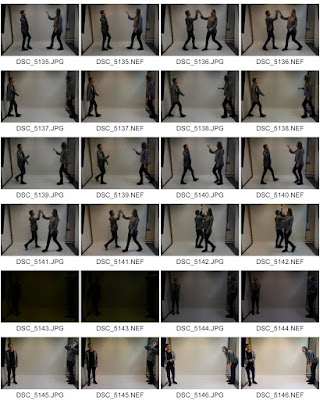
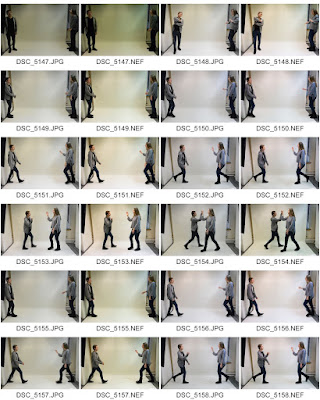
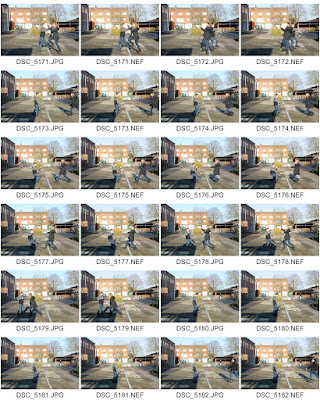
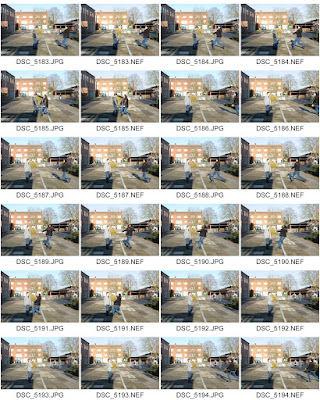
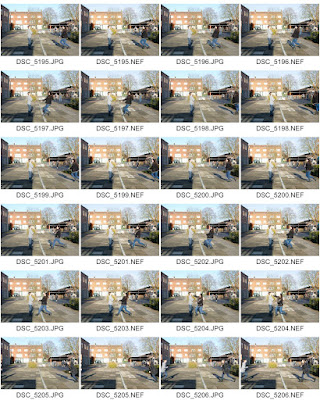
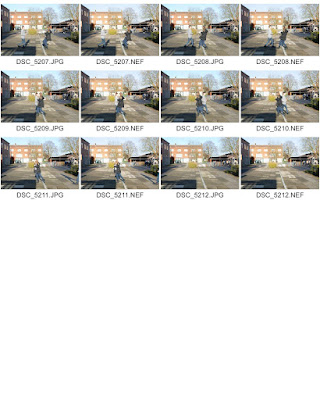
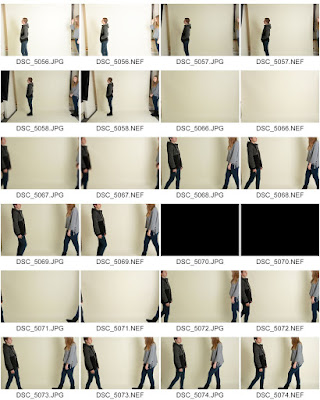
contact sheets


best images


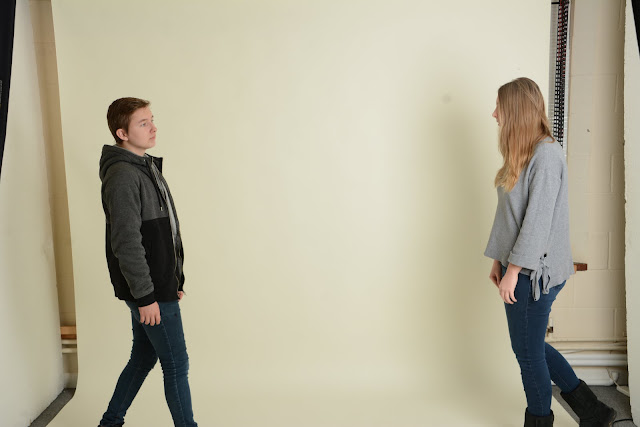
i chose this photo because I like the expression on Joes's face. he looks contemplative and slightly melancholy which goes with the theme of this shoot, as the narrative is supposed to be dramatic.


images that require improvement


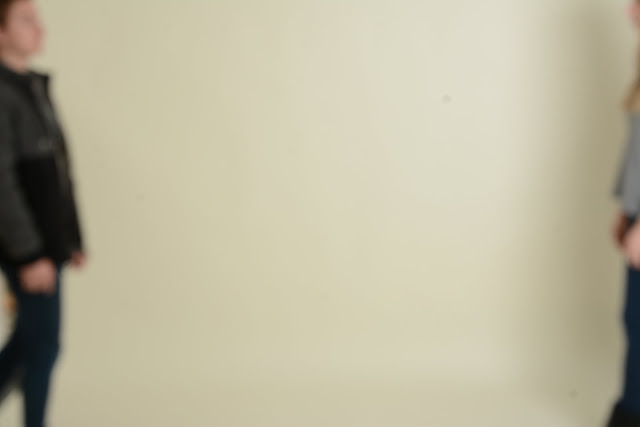
i chose this photos because it is completely out of focus. this was probably because of the movement of the people in the frame as they are both walking towards the centre of the screen.
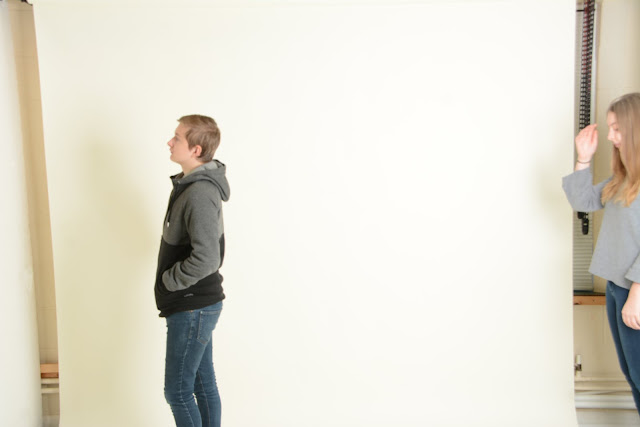


editing my photos

when editing these photos, i changed them all in the same way, which theoretically meant they would fit together better and make the GIF seem less jumpy. i converted the images to black and white, then adjusted the contrast to make the subjects look more like silhouettes.

i then used the magic wand tool to select the area of the image that showed the edge of the screen, and then used the spot healing tool to blend it into the white background/screen. i then used the timeline feature in Photoshop to line up the frames of the GIF. using the tool, i could adjust the frame rate.
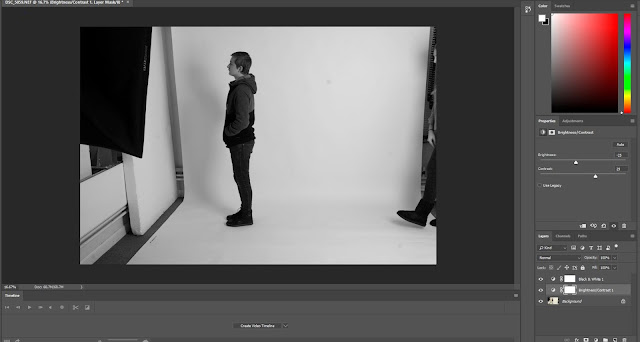


final outcome
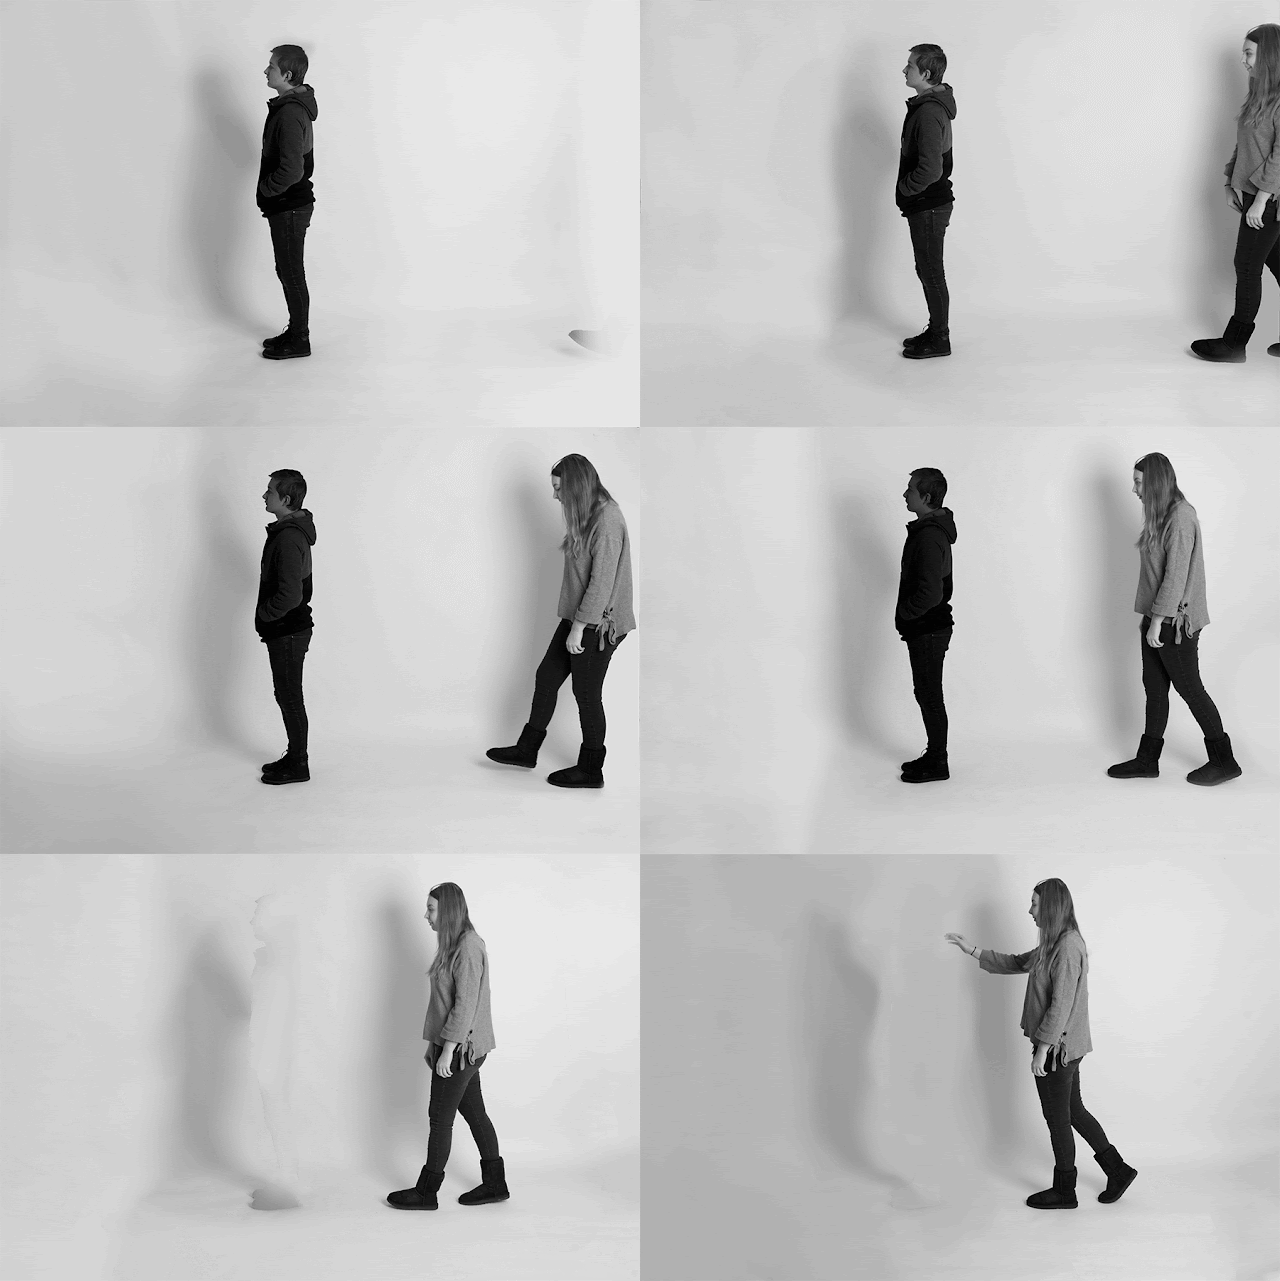


Evaluation
overall, this shoot went well as i was able to create a GIF successfully. however if i were to change this shoot, I'd change the narrative to something that is more linked to shadows as, in this shoot, they are not as obvious. id also change the amount of frames in the GIF, as the one from this shoot looks jumpy and not as smooth as i would have liked. this shoot was useful though, as i now know how to make a GIF, and will use the technique again in my next shoot.


Progression
to progress, i am going to continue with using the GIF technique. id like to create another GIF with more frames, which should make the movement smoother. id also like experiment with different narratives with a similar emotive theme. next shoot, id like to create a fight scene between two people.

i am going to experiment with the background/setting i use for this shoot, i could use the studio or try and take some photos outside. if i use the studio, i am going to use the black background. this could affect the tone of the GIF and make it more dramatic.


Friday, November 22, 2019

shoot 5


shoot 5

plans for shoot

for this shoot, i am going to take photos in the style of Film Noire. to do this i am going to take portraits of peoples faces with a light shone from different angles. this should cast shadows and bring out the contours in their face. my aim is to get around five strong photos and edit them to enhance the shadow more.

research influence
my my research influence, i have chosen to investigate the genre of Film Noire photography. this genre was developed during the 1940-50's. the style represents the fear left behind after the second world war. the genre reflected mystery, suspicion and sinister characters. common features of Film Noire are harsh shadows, silhouettes, and a strong contrast between black and white.


this image is an example of Film Noire photography. in this photo, you can see a young man sat at a table, with his hands clasped in front of him and what looks like a nearly empty wine glass in front of him on the table. the first thing the viewer notices when they look at this photo is the light illuminating the side if the mans face. the angle it has been shone at, exposes the contours of his face, and creates a light reflection in his eyes. this conveys a feeling of sadness from him in the way his eyes look glassy and the solemn expression on his face. the glass of wine adds to the emotion of the photo as it looks like he has been drinking. this causes the viewer to wonder what has made him want to drink and why he looks so melancholy.
this photo looks as though it has been taken in a completely dark room with only one light source. the photographer most likely used a reflector as a light source as it illuminates the light on his face, and the reflections in the glasses in front of him, however the background is very dark, indicating that the area surrounding him wasn't lit.

contact sheet


best images


i chose these images because the features that are highlighted are sharp and in focus. the light also effectively brings out the contours in Hannah and Sam's features, which was my main goal for the outcome of this shoot.

images that require improvement


i chose this image because the exposure was too harsh, which meant it hid most of the detail in Hannah's face. the aim of this shoot was to use a direct light to illuminate the subjects face and bring out the contours and shadows. however, in this photo, the light blanketed over Hannah's face, which meant the shadows were lost.
if i were to take this again, i would lower the exposure of the light, so that it enhances the shadows rather than getting rid of them completely.


i chose this photo because there are multiple issues with this photo. one of which, is the position of the light. i moved the snoot so that the light shone at a downwards angle. however, this meant it was too far away and the exposure was too low. this caused the features of the face to be lost slightly. although, i do like this photo, and would use it if i were to do a shoot with a more sinister theme. in this case though, i  was looking to get more of a harsh light. another thing i would change in this photo is the dark area of the bottom of the face. this occurred because the shutter speed was too high (400 instead of 125) which meant the photo captured it closing which darkened the bottom part of Sam's face.

refining my images


to edit my photos, i started by adding a black and white layer, and adjusted the brightness and contrast so that the light was either slightly more or less harsh, then merged them together so that i could use the other tools (dodge and burn etc.).


using a combination of the eye dropper, dodge and burn, and the paint brush tools, i brightened different pats of the subjects face and highlighted where the light would hit most. this made the photos more contrasted and dramatic, which is the effect i wanted to achieve in this shoot.

final images


evaluation

overall, i think this has been my most successful shoot so far as the final images reflect exactly the style i used as my influence, and i feel like these images are effective. the things that went well in this shoot were the initial photos, as i knew what i wanted to do and had a particular image/mood i wanted to create, which was achievable using the studio. another thing that went well was the editing process. it wasn't too complicated which meant i could edit more in the time i wanted to spend on them, and the outcomes themselves are exactly what i wanted to get from this shoot.

some issues i faced during this shoot were the shutter speed. i had originally set it at 1/125, but must have had the camera on a setting that allowed it to change. this meant it went up to 1/400, which was too fast for the shutter to leave the frame. this caused a dark shadow to cover the lower part of the subjects faces, which didn't effect the photos to the point i couldn't use them, but still obscured the face slightly. another issue was the way i positioned the light. because i didn't want to blind my models, i tried to keep it far enough away from their faces that it wouldn't be too bright. however, this meant the light was too low in some of the photos.

progression

to progress this shoot further, id like to create a GIF with a short narrative shown through a series of frames. the narrative would be something involving shadows, and by doing it frame by frame, i can use more creative frames that would be much harder if i were to create a video.


Tuesday, November 19, 2019

shoot 4


Shoot 4
For this shoot, I am going to create images in the style of tomas maly. to do this I am going to take photos of different objects and the shadows of other objects that relate in some way to the object being held. This could be something like a banana or someone making the shape of a gun with their fingers, against the shadow of an actual gun. I am then going to superimpose them into the same image and position them in a way that makes the viewer believe that the shadow is of the object in the foreground.

Research influence
For this shoot, my research influence will be Tomas Maly.  unfortunately, I was unable to find much information on this photographer apart from, he belongs to a website called getty images, which is a website for royalty free images. I found the image through a website showing different forms of shadow photography, and his piece is one that stood out.

Here is an example of his work


In this photo, there is the chess piece of a knight in the foreground, with the shadow of a rearing horse with wings behind it. This photo could reflect what the chess piece represents in the game and how it is supposed to defend the king. When a horse is on its hind legs, it usually means it is attacking or scaring off an enemy. In this image, this shadow could be used to represent the loyalty of the piece and how it is supposed to be used as a line of defence against the opposing players pieces. I like this image because it uses a shadow to represent a deeper meaning behind the pieces in a chess game and how they are used to defend each players king.


 contact sheets


images that require improvement 


I chose this photo because it is incredibly blurred, and you can see the area behind the white card I used as a background. This was because the room I was shooting in was completely dark apart from the torch I was using as a light source. I also struggled to keep my arm still, which meant the movement was visible in the shot. If I were to take this photo again, I would focus more on the framing and keeping my arm still to reduce the motion blur. I would also try to press the shutter lightly or ask for assistance from a family picture to take the picture and hold the torch.


I chose this photo because it was also one of the most blurred and out of focus from the shoot. Although I do like the photo, for the purpose of the shoot, I was unable to use it, as I needed a clear image I could select and superimpose into another. The reason this shot was so blurred, was because the room was completely dark, apart from the lighter flame which meant the photo had a high chance of being blurred with the slightest bit of movement. To correct this, the photos taken after this in the shoot were lit with the torch, because it was faint enough to still show the flame from the lighter. I didn’t use a particularly high ISO, because I wanted to avoid the photos being grainy and be as sharp as possible.

best images


I chose these photos because they were the sharpest ones from the shoot, and were the most suitable for use when editing, as I needed a sharp outline so that I could select them in Photoshop neatly.

refining my work


When editing these photos, the biggest struggle was trying to superimpose one image into another file, because Photoshop wouldn’t allow me to use copy and paste. After trying different methods, I finally managed to do it by dragging the selected part of the image onto the tab of the other file. This then allowed me to drop the photo onto the background and manipulate it so that it fit the proportions of the other image.
To create the images, I started my using the magnetic lasso tool to select the area of the shadow, and then dragged it using the move tool, and dropped it into a new file I had created as a background to superimpose the shadow and other object into. I then used Ctrl T to move the images and adjust the orientation of each so that the shadow looked like it belonged to the object in front. I then created a black and white layer before flattening the image so that I could edit it as one image. Lastly, I used the dodge, burn, gradient and paintbrush tools to blend the images together and make them look like they belong in the same photo.


Final outcomes


This shows a hand making a gun sign wit the shadow of a pistol. This was the original concept I wanted to explore and the most effective one from the shoot.

Evaluation
Overall, I believe this shoot went well. I like the way that the images worked and the concept behind each one. The most effective one from the shoot was the finger gun image. I think this was because it was edited more simply than the other images. The simplicity meant the photo was clearer and easier to understand. The concept behind the image was also the one I liked most because it reminds me of when people make shadow puppets with their hands. I feel as though the other images were not as effective because the idea behind them wasn’t as meaningful and relevant to my theme. Reflecting on them now, I believe the editing could’ve been simpler and also been more effective. As a whole though, I enjoyed this shoot and would like to attempt it again but this time focus on making shadow puppets with hands, possibly more in the style of Russ and Reyn.

Progression

For my next shoot, id like to look at a more early form of photography and experiment more with portraits. The style of photography id like to try is Noir photography. This style of photography uses shadows to hide different parts of a photo or obscure people faces to show mystery and intrigue the viewer. This style began after WW2 and reflects the uncertainty and tension the people of America felt during that time.


shoot 7

shoot 7 Plans for shoot for this shoot, i am going to be taking portraits of some different people in the photography studio. these...